Tuesday, August 31, 2010

New Cliet: HUGE Addition!

I was recently hired to help design a few spaces for a family I know. They are finishing up the construction phase of their HUGE addition, and want my help with space planning and choosing some accessories and window treatments. They live blocks away from the beach, so they built a very tall, three story addition, with two great rooms on top of each other...the second floor to be a media room with a large projector screen, and the upper level to be a multi-purpose space.

The following are pictures of the upper level, which will function as the following: Martial Arts practice space, toy storage, office space, scrapbook space, library, play room, and other storage! I have my work cut out for me, but luckily I have a blank slate to work with! Here are some photos of it...


Here is the second level, which is to become a media room, where a large projector screen will be and have a theatre-like setting!


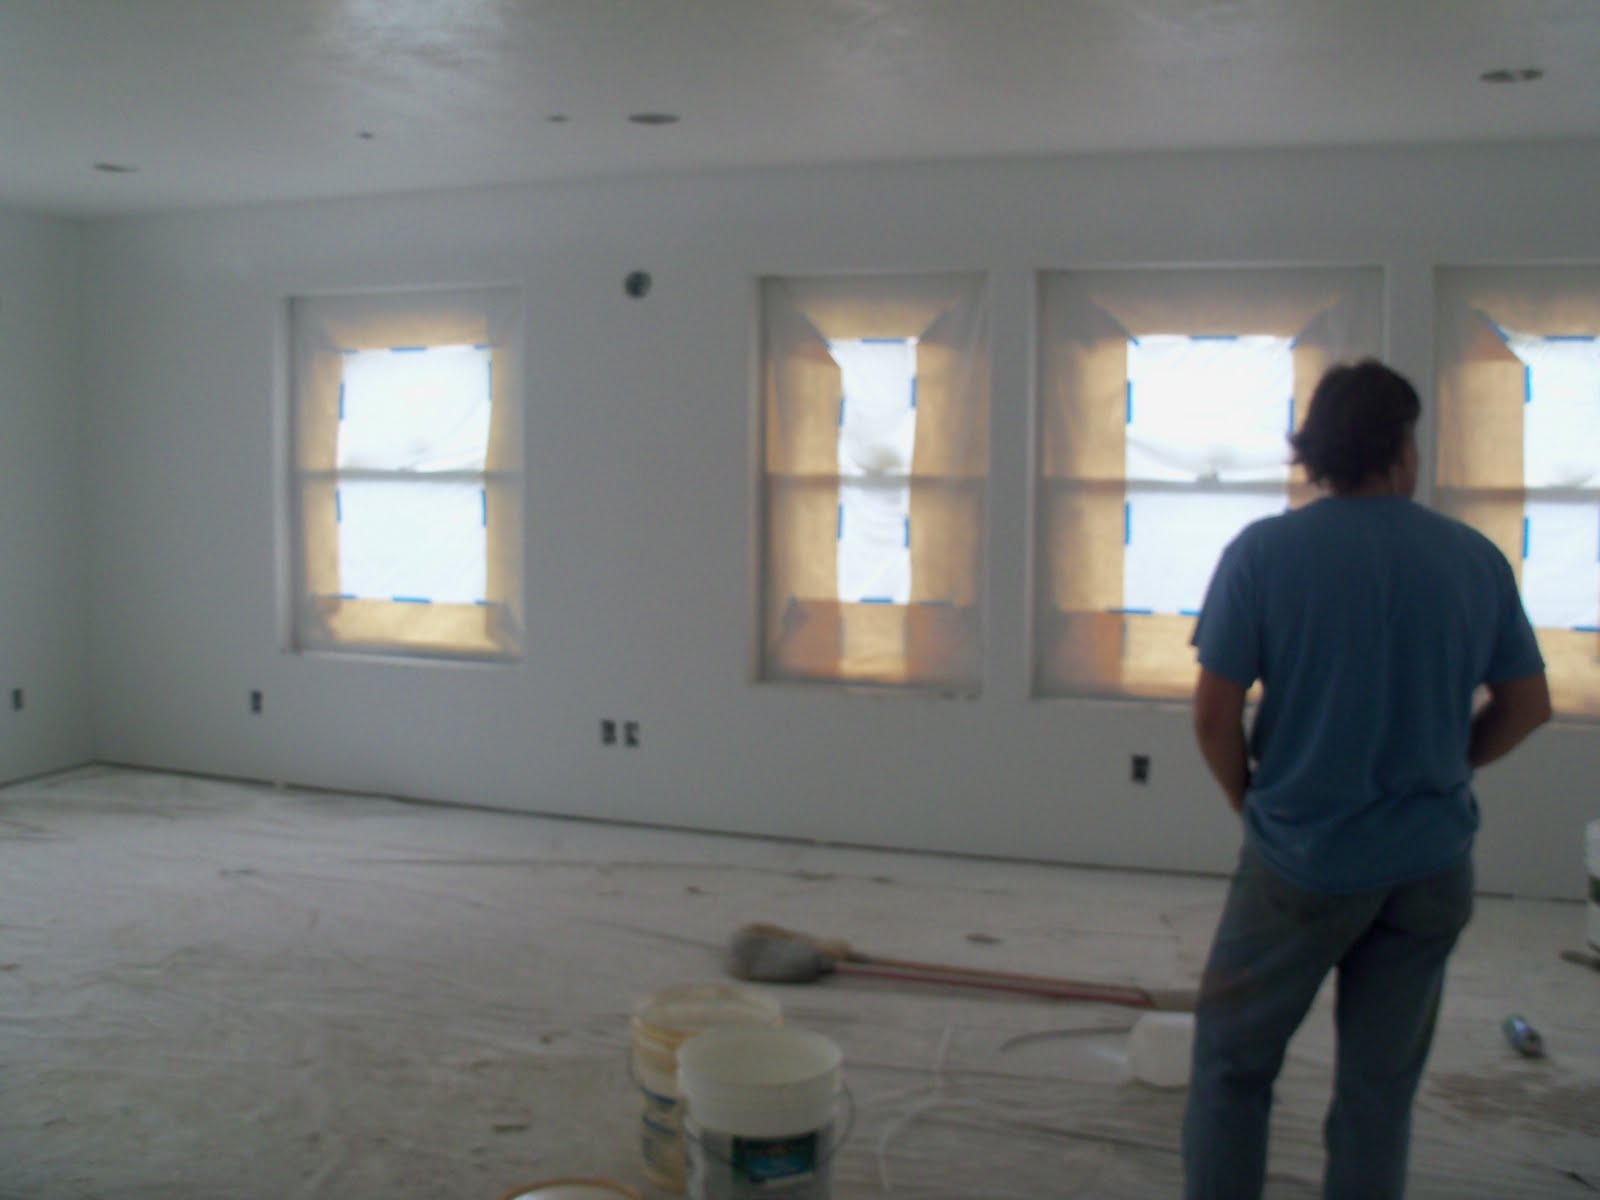
They have already chosen some great wall colors, flooring, and ceiling treatments, so I'm excited for what the final outcome will look like. Needless to say, I will be busy working on these spaces for the next few weeks!

Friday, August 27, 2010

It's all about the small and simple things...

So, as the exterior of our house has been getting a makeover, I decided to complete a project that has been on my to-do list. I added the letter "f" to the window on our front door. It is the first initial of our last name, and I love the way it turned out!


You see, before we just had this window that made it easy for people to just see clear into our house...


Here is a view from the inside...


I printed a letter "f" once I found the right font I wanted it in.


Yesterday at Home Depot, I bought this contact paper for windows that has the Rice Paper look. It was about $20 for the roll.


Then I taped it down for a nice hold, and cut out the letter with one of Danny's razor blade things since I don't own a xacto knife! I ended up using the second one that I did. I thought I would adhere it to the inside of the window, but it didn't look good, so I cut another one out facing the correct way and adhered it to the outer side of the window. I had to use a debit card when I applied it to the window to make sure there were no bubbles.


And while it still doesn't give us complete privacy, atleast it helps somewhat, and I am loving the way it looks!


Thursday, August 26, 2010

Ice Cream Sundaes


Does anyone else remember making these in grade school? I don't even remember what they were for, but they sure do make cute holders for ice cream sundae toppings!!! These were featured as the Craft of the Day over at Martha Stewart's website. You can find the tutorial here.

Wednesday, August 25, 2010

Magnet Paper Dolls


When you take some of the above, and add a little bit of mod podge, you can create cute little custom magnet dolls for any little gal in your life! These ones were created by Disney over at Ruffles and Stuff. I think they would make such a cute gift for any little girl, and talk about inexpensive! The magnet sheets are about $8 on amazon.com, but it comes with 5 sheets, so you could probably get about 5 gifts' worth out of it! Jsut simply cut out your magazine girls, and mod podge them onto the magnet sheets and cut them out!


Tuesday, August 24, 2010

Coolest Birthday Cake EVER!


This past Sunday night, we went over to our friend Tayshu's house to celebrate her 31st birthday. Her sister in law that made the cool Cookie Monster cake that I posted about here, also made her this totally awesome Birthday cake. You see, Tayshu is a huge fan of cheese so this cake is very fitting for her! And I just can't get over the detail of the shrink wrapped look that she did using fondant...and she even made it look shiny like it was wrapped in plastic by giving it a coat of water. The body of the cake is a pound cake. Isn't that cool? I have some pretty cool friends! :)


Monday, August 23, 2010

Cork Boards

I have a Back to School themed acticity planned for the ladies at my church coming up in the next few weeks, and one of the projects that we are going to doing is making corkboards. As I scoured the internet for diy corkboards, here are 3 cute examples that I found. Now, which one should we make...


I like how this one simply entails repainting a frame, and adding cork. Check it out here at The Enrichment Cottage


I like the simplicity of these. They are simple and cute, and I love the colors she used. Made by Michelle over at The Land of the Misfit Toyz


This one is also cool! You could customize it to any initial, and it would be cute in any room! You can find it over at Family Fun

Thursday, August 19, 2010

Pillowcase Bag


I discovered that my good ol' crafting buddy Martha Stewart has a craft of the day that she posts on her website! As I was browsing through some of the previous weeks' projects, I came across this simple tutorial for turning a pillowcase into a cute shoulder tote. If you have any pillowcases that have nice prints on them that you aren't using, this would be perfect to make! I think he pillowcase bag would be perfect for holding supplies hanging in a closet!

Click here for the complete tutorial.

Tuesday, August 17, 2010

It's about time!!!


We bought this house three years ago almost exactly. Right before we moved in, the sellers had half the house re-sided, and our intentions were to paint on a new exterior color immediately. Well, life happens and we had other priorities, so we went with a half painted house for 3 years! At first, we were going to paint it sage green (too much green in our neighborhood!), then banana cream yellow, then this medium brown natural bark color. When we went to buy the paint yesterday trying to buy the medium brown color that we wanted, we ended up with this color...and I like it!


I'm so excited that we are finally giving our exterior a facelift! We are also going to be refreshing the trim with a crisp white, buying new contemporary house numbers and placing them in a new location, and then adding some white window boxes under the two left bedroom windows for architectural interest. It's always bugged me how our house is a basic rectangle, so we're trying to step it up a notch and make it look a little cuter.


It seemed like when we first bought this house, everything was blue and white, so I think that was their favorite colors! I am slowly but surely weeding it all out and trying to warm up the space!

Anybody else out there have unfinished projects that are still lurking around? Heaven knows I need to finish this chair makeover that I've been trying to finish this past week. Hoepfully I can post about it in the next few days!

Sunday, August 15, 2010

Shelving Solutions!

Sorry for the lack of posting last week. I had to have an unexpected medical procedure that has kept me down and feeling on the crappy side. As I was searching through Google Images, I found some really neat shelving ideas...so check them out...


This shelf would easily fit with a young boys' bedroom! Check out this comic shelf created by Oscar Nunez at Design Wagen.


I think we could all use a little more storage in our bathrooms, especailly me! There is something about the simplicity of this shelf that I really love. It is so simple yet chic, and I bet my husband could easily build something like this for us! :) Photo from John B. Keene


With a little mod podge, wood, nails, and some paint, you could re-create this unique solution for a corner of a room! Photo from Small Furnish


This is one of the most unique and creative solutions to shelving I've ever seen! It is pure genious! Not necessarily something I'd put in my home, but super clever and I love the color they chose! Photo from Manolo Home

Thursday, August 5, 2010

For my friend Kim!


A present for my friend Kim! She picked out with fabric she wanted, and I made her this cute jewelry organizer. I have a tutorial posted here so you can make your own. They are so easy! All you need are some wire cutters and chicken wire, a photo frame, and some cute fabric.


Wednesday, August 4, 2010

Millions of Peaches...


I've had huge bursts of energy lately that have helped me get so much done around the house! Today I spent the morning canning the 50 pounds of peaches that I bought last week (This is only half the jars that I ended up with!). My kids will gobble these up, and I can make peach cobbler and peach crisp, and smoothies...Yum!

I've also decided to challenge myself by eating out of our pantry and food storage supply for the next week or two. I found a small can of dehydrated peas that my mom had passed on to us (she gave us a ton of their food storage since they don't need as much with just one child left in the house). Anyhow, this little can of dehydrated peas holds 25 servings! I couldn't believe it! So, we will be trying some of these decade-old peas tonight with dinner. I also opened up a can of 20 year old sugar to make some cookies, and it is just as bit as fresh and good as sugar on the shelves today. That is why I love food preserving and home canning!

And ps... See those white beans in the pot behind the peaches? Those are also 20 year old beans that I am slow cooking with a ham hock to make a soup for dinner tonight! :)